Breaking behemoth IBM Notes databases into workable NSFs
Surely, some of you out there have to deal with databases that, over time, have become too large to handle comfortably. It does happen. Recently, an IT forensics customer asked us if there’s a way to evenly split the contents of a large Notes database into multiple NSFs so their metadata extraction software could run multiple threads (for much faster processing of the application’s contents). In today’s post, we’ll look at an easy example of how you can break these super-sized databases up into smaller workable parts.
As part of our v12 release, we developed a search enhancement for scanEZ that allows you to limit the number of search results and thereby grab the first “x amount” of matching documents & designs.
This is the feature that allows us to split database contents into multiple identical databases.
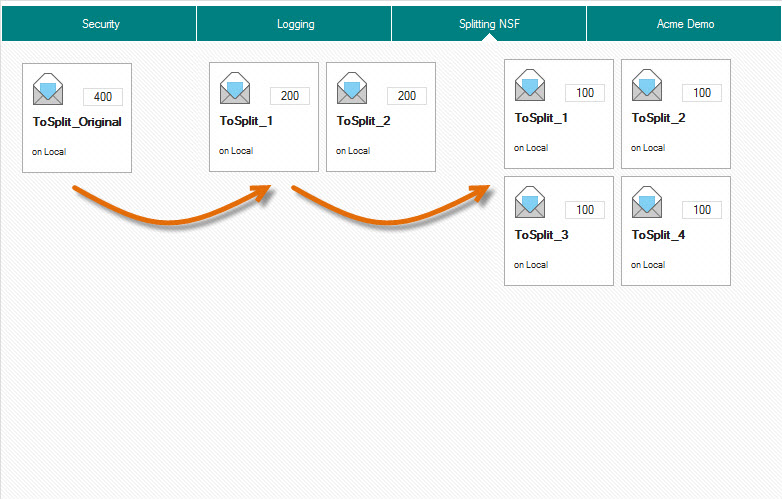
Although it is possible to split an NSF into ANY number of pieces, the easiest way to go is to split an application into 2ᶰ databases. For our simple example, let’s take a database that contains an even total of 400 documents*; we’ll examine how to split it into first two, and then four separate databases.
*Please note that this is a pretty small amount of documents. Normally, when this process is preferred (or even necessary), it’s because the database has grown much larger than the one in our example. However, regardless of the time it may take to process a very large amount of documents, these steps will let you split your desired databases accurately.
1) With the initial database already on your local machine, create a second OS level copy (this will keep the replica ID and note identifiers intact). Disable replication for both.
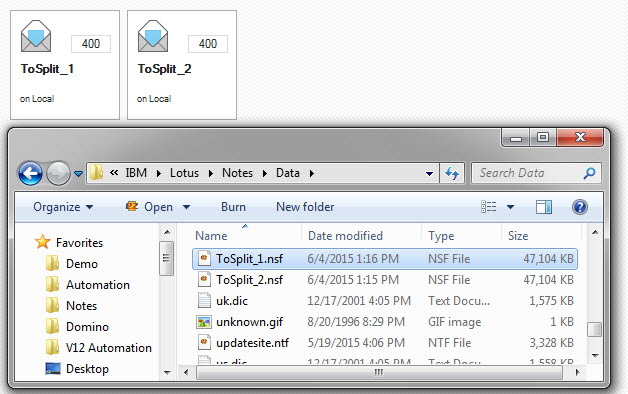
2) Rename the original NSF ToSplit_1.nsf and the new copy ToSplit_2.nsf (see fig. 1).
Fig. 1 Name your 2 new NSF files ToSplit_1.nsf and ToSplit_2.nsf
3) Open ToSplit_1.nsf in scanEZ, checkbox-select all of its documents, then proceed to Checkbox Selection > Add to > New ‘My Selection’. For this example, let’s name the new My Selection All Documents. Set display titles to use the @NoteID formula (this guarantees that we keep the same order of documents in both databases). Make sure to deselect your Documents folder.
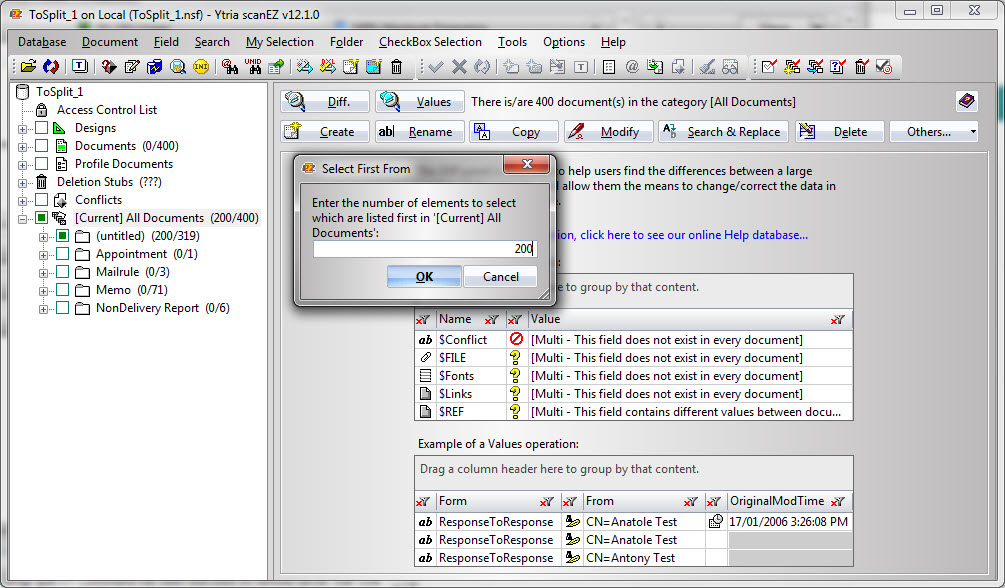
4) Right-click your brand-new All Documents My Selection folder and choose Select first from current category in the contextual menu; specify 200 (see fig. 2).
Fig. 2 Select the first 200 documents in All Documents
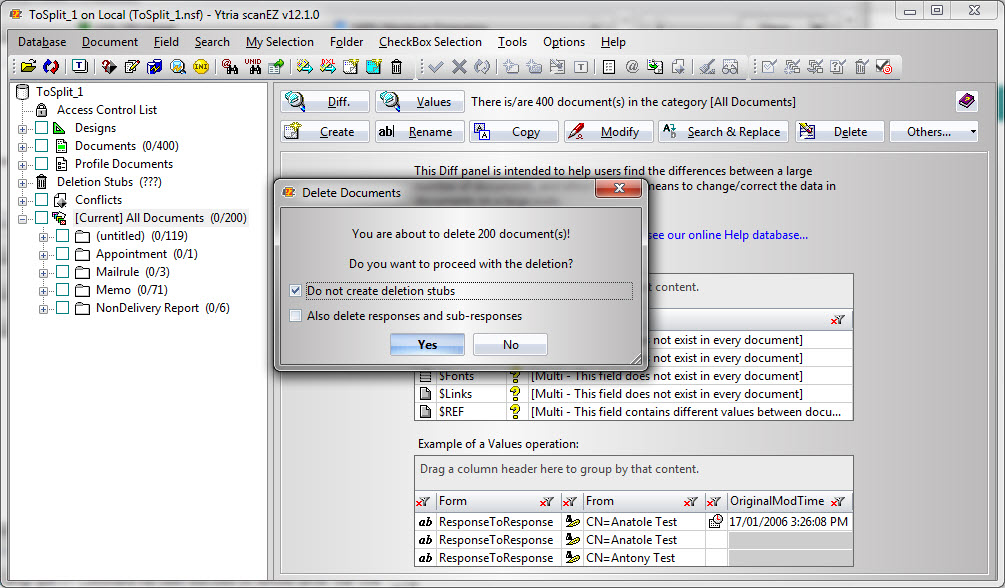
5) With the first 200 documents selected, go to Checkbox Selection > Remove From > Current My selection. Then, right-click your All Documents My Selection folder (which should now contain only the second 200 documents) and click Delete All Documents in Category. Make sure you choose NOT to create deletion stubs (see fig. 3). ToSplit_1.nsf now contains only the first half of the documents.
Fig. 3 Delete the first 200 documents and opt out of deletion stubs
6) Open scanEZ on ToSplit_2.nsf and repeat steps 3 and 4 in order to checkbox-select the first 200 of 400 documents.
Tip: On databases containing a very large volume of documents, you may need to get rid of some steps. Instead of creating a new MySelection folder containing all the documents, you can simply change display titles on the Documents section by using the @NoteID formula. Then, select the first half of the documents just as we’ve selected the first 200 in our example. This will save you the time of creating a new MySelection folder.
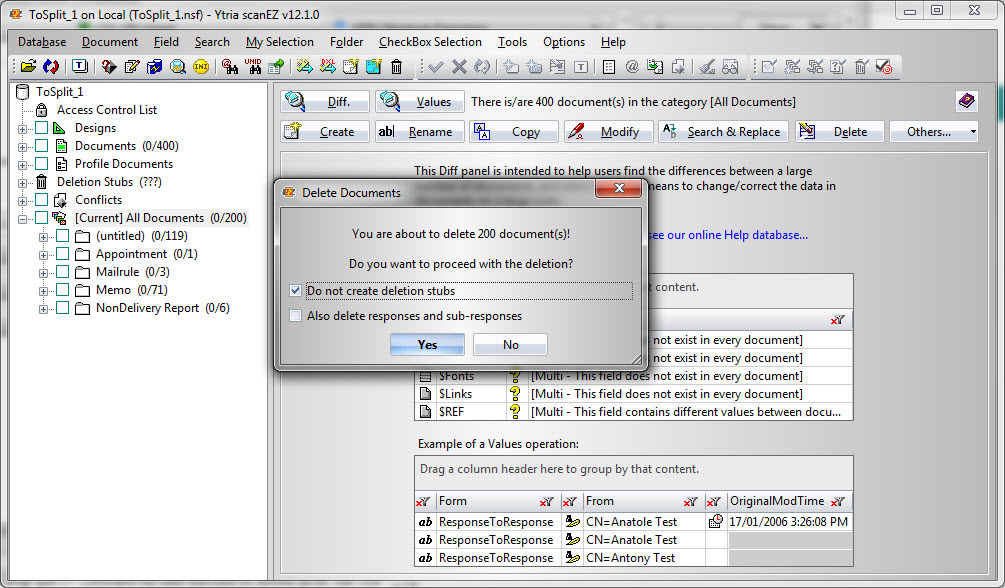
7) Go to Checkbox Selection > Delete Document(s) and, again, opt out of creating deletion stubs (see fig. 4).
Fig. 4 Repeat the previous steps to delete the second 200 documents, still no deletion stubs
At this point, you’ll have two NSF files with identical designs and replica IDs. ToSplit_1.nsf contains the first 200 documents and ToSplit_2.nsf contains the second 200. If you need to split your original database even further, create OS level copies of both files and call them ToSplit_3.nsf (identical to ToSplit_1.nsf) and ToSplit_4.nsf (identical to ToSplit_2.nsf). Simply repeat the above steps on NSFs ToSplit_1 & 3 and ToSplit_2 & 4 and you’ll end up with four equal databases, all containing 100 documents each (see fig. 5).
Fig. 5 You now have 4 NSFs each containing 100 documents
As I stated early on in this post, this example uses a database with a relatively small amount of documents. When working with a very large amount of data (such as millions of documents) these steps might take you a while. However, regardless of the size of your project, these steps will put you on track for breaking even your largest Notes databases down to a workable size.

After splitting these into separate NSFs, how do I change the Replica ID for each NSF so that I can restore replication for a clustered environment?
Do I have to create new copies of these recently split containers?
Hi John,
Excellent question, and luckily the answer can be found right within scanEZ, as we support Replica and DatabaseID operations. All you need to do is open scanEZ on each container file and generate a new Replica ID, then save it (If you have a databaseEZ license, you can also do this from there in the same interface). Needless to say, these new databases will then need to be replicated, which is where replicationEZ can help – it only takes two clicks to create new replicas for any number of databases on one or even multiple servers.
I will not buy this idea. I will prefer to USE Dec or LEI to transfer Data into DB2 or any relational Database. I will develop application using xPages and binding the data from Relational Database.
Great article! As for using LEI and DB2, rebuilding an entire application sounds like a lot more work than doing this with scanEZ, personally I prefer to keep my data in Notes.