Microsoft’s Whiteboard App: Introduction and Installation
Whiteboards have become a fixture in boardrooms, offices and work environments everywhere, allowing people to collaborate visually. As online meetings have become the norm, the whiteboard has also evolved, allowing remote participants to enjoy the same benefits by using virtual whiteboards. In this earlier post, we saw how to use the whiteboard in Microsoft Teams.
We continue our focus on whiteboards with a series that will help you understand and use the Microsoft Whiteboard app on your Windows 10 device. In this first article we’ll cover how to install the Whiteboard app.
Articles in this series
Part 1- Introduction and installation
Part 2 – Drawing, adding text, images and notes
Part 3 – Adding grid notes, lists, templates and documents
Part 4 – Microsoft Whiteboard app settings
Introduction
The Microsoft Whiteboard app comes in two flavours:
- A light version that runs in Microsoft Teams (no need to install a client)
- The Microsoft Whiteboard App that can be downloaded onto a Windows 10 machine
The Microsoft Whiteboard App can be used on its own, or you can use it in a Teams meeting.
Option 1 – Sharing the Whiteboard in a Teams meeting
n a Teams meeting, click on the Share button.

In the sharing options, select Microsoft Whiteboard.

Option 2 – Downloading and installing Microsoft Whiteboard
When you select to share Microsoft Whiteboard, you will have two options:
- Get or open the Windows App
- Use Whiteboard in Teams (limited version of Whiteboard)
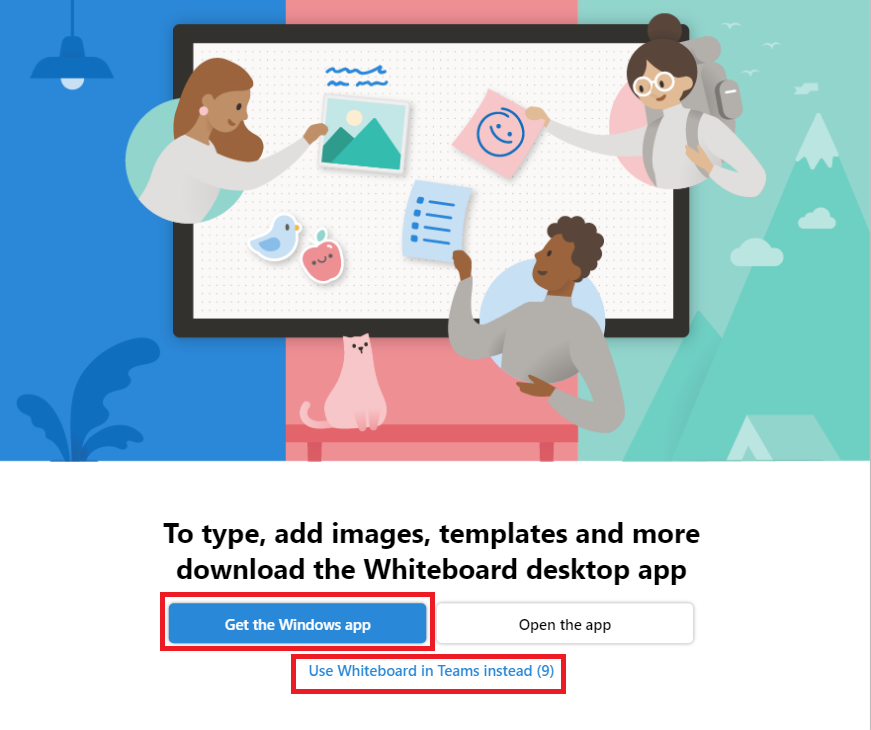
Note: If you’ve already downloaded and installed Microsoft Whiteboard on your machine, you can open the app. If not, click on Get the Windows App.
On the Microsoft Store page, click Install.
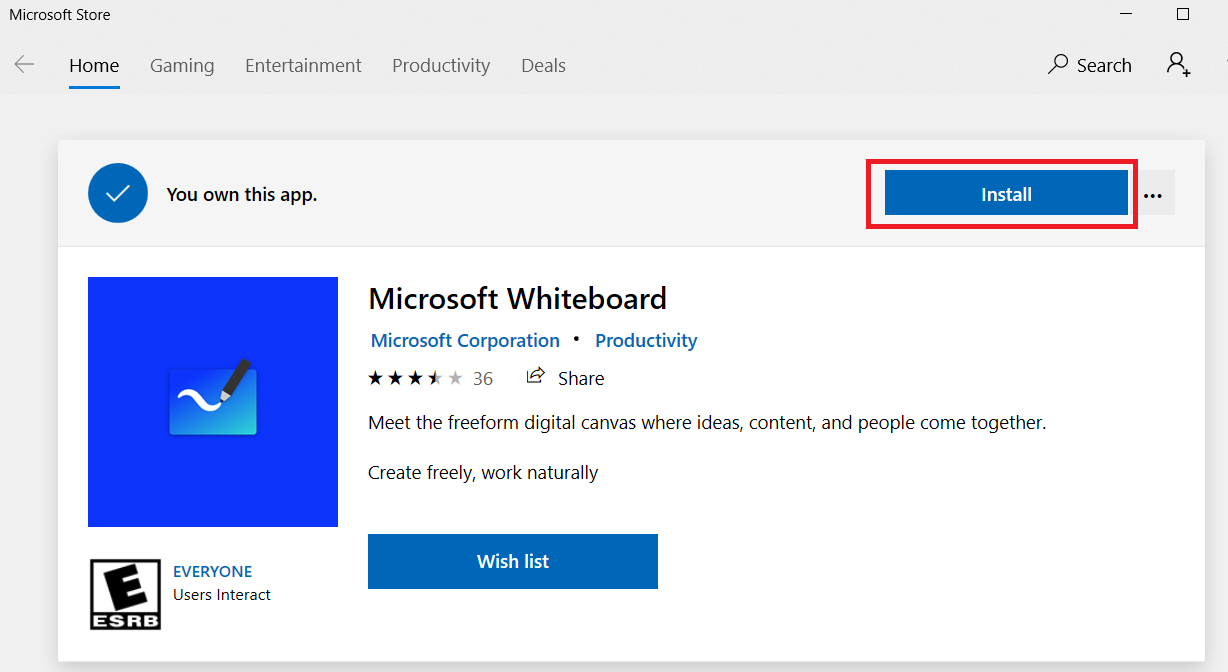
Note: To install Microsoft Whiteboard, you need to be running Windows 10 64 bit.
The recommended version of Windows 10 is 14393.0 or higher.
After you’ve downloaded and installed Microsoft Whiteboard, you’ll get a message to:
- Launch
- Pin to start
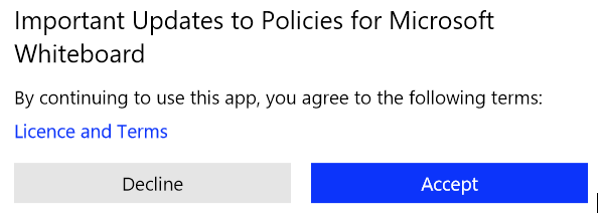
On first launch you’ll need to read and accept the policy for Microsoft Whiteboard updates.
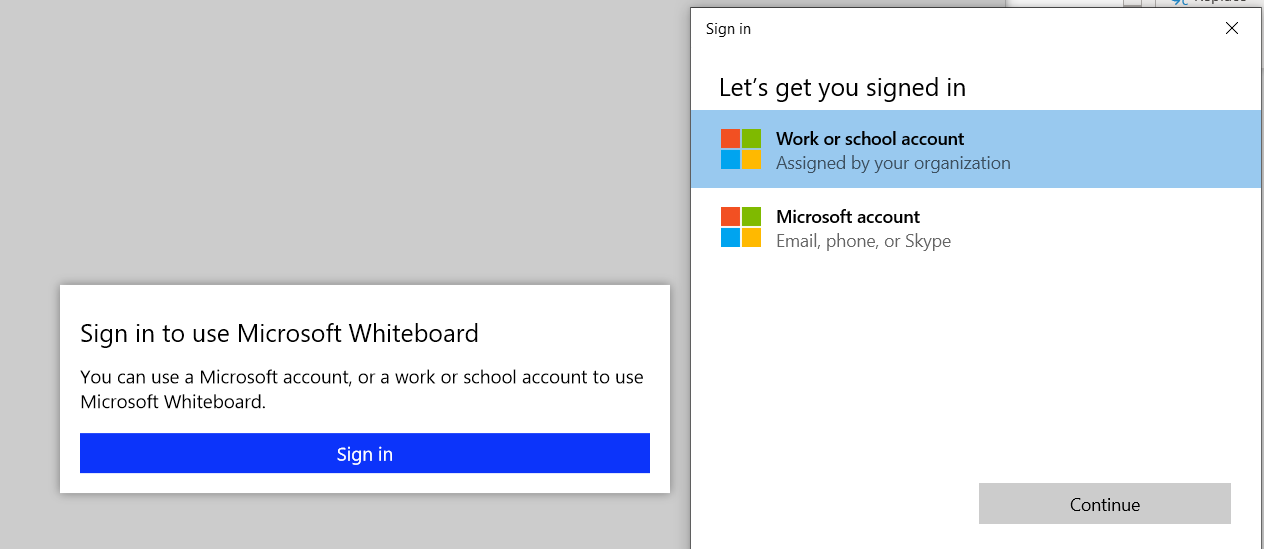
You will need to sign in with your Microsoft Account (ex: Hotmail, Live, etc…) or with your work or school account
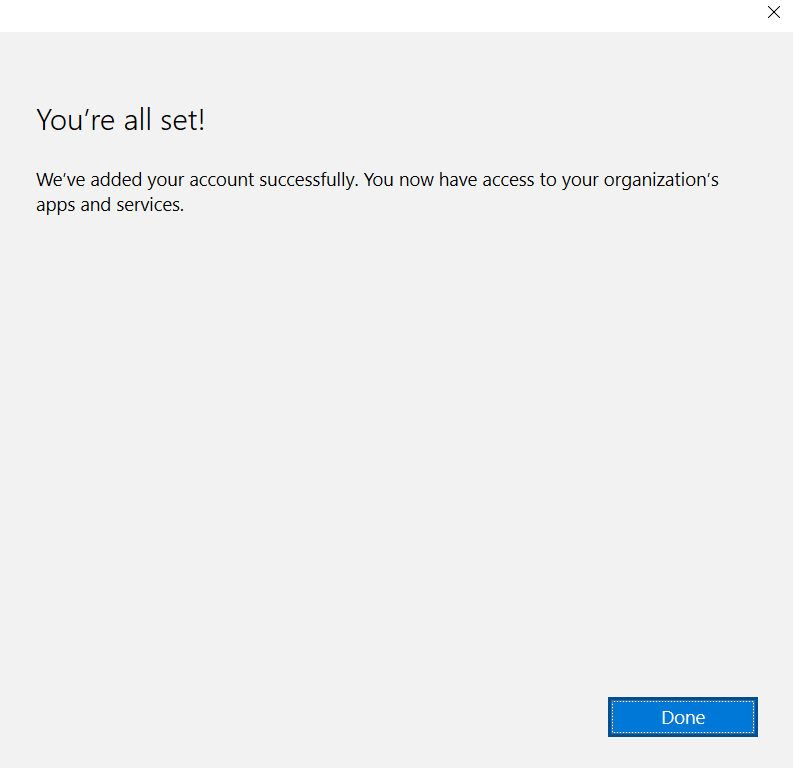
Once you’ve signed in, you’ll get a message that you’re all set to use the new Microsoft Whiteboard App.

Now that we’re all set up, it’s time to get to work!
In part 2 we’ll look at how to draw, add text, images and notes using the Microsoft Whiteboard app.

Submit a comment